How to Mount a Camera on a Guitar Headstock: The Ultimate Guide
Capturing that iconic "down-the-neck" shot of a guitar can add a unique perspective to your music videos, instructional content, and live performances.
However, mounting a camera on a guitar headstock, especially a reverse or scalpel-style headstock, can be challenging.
Here are a few practical tips, tricks, and recommendations for mounting a camera on a guitar headstock, making it a great resource for musicians, videographers, and content creators.
Why Mount a Camera on a Guitar Headstock?
Mounting a camera on a guitar headstock allows you to capture dynamic and engaging footage of your guitar playing.
This angle provides a close-up view of your finger movements and strumming techniques, making it ideal for instructional videos, live performances, and creative music videos.
It adds a unique perspective that can captivate your audience and showcase your skills in a visually great way.
Choosing the Right Camera
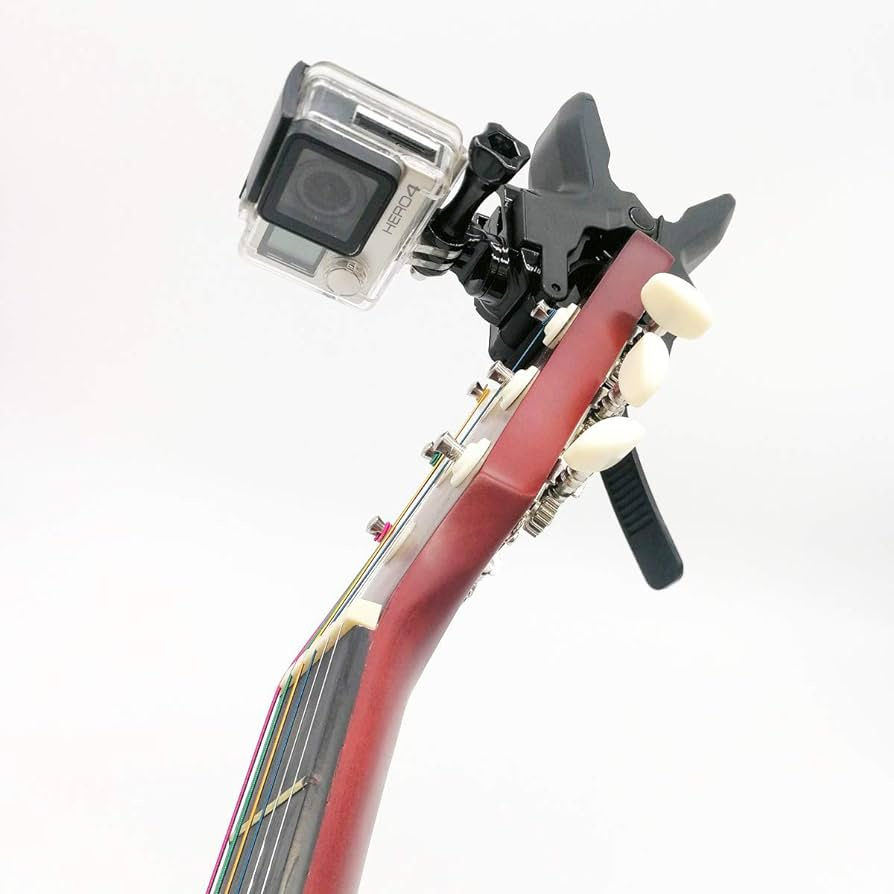
For this setup, action cameras like GoPros are an excellent choice due to their compact size and versatile mounting options.
Their lightweight design and wide-angle lenses make them perfect for capturing dynamic guitar performances from unique angles.
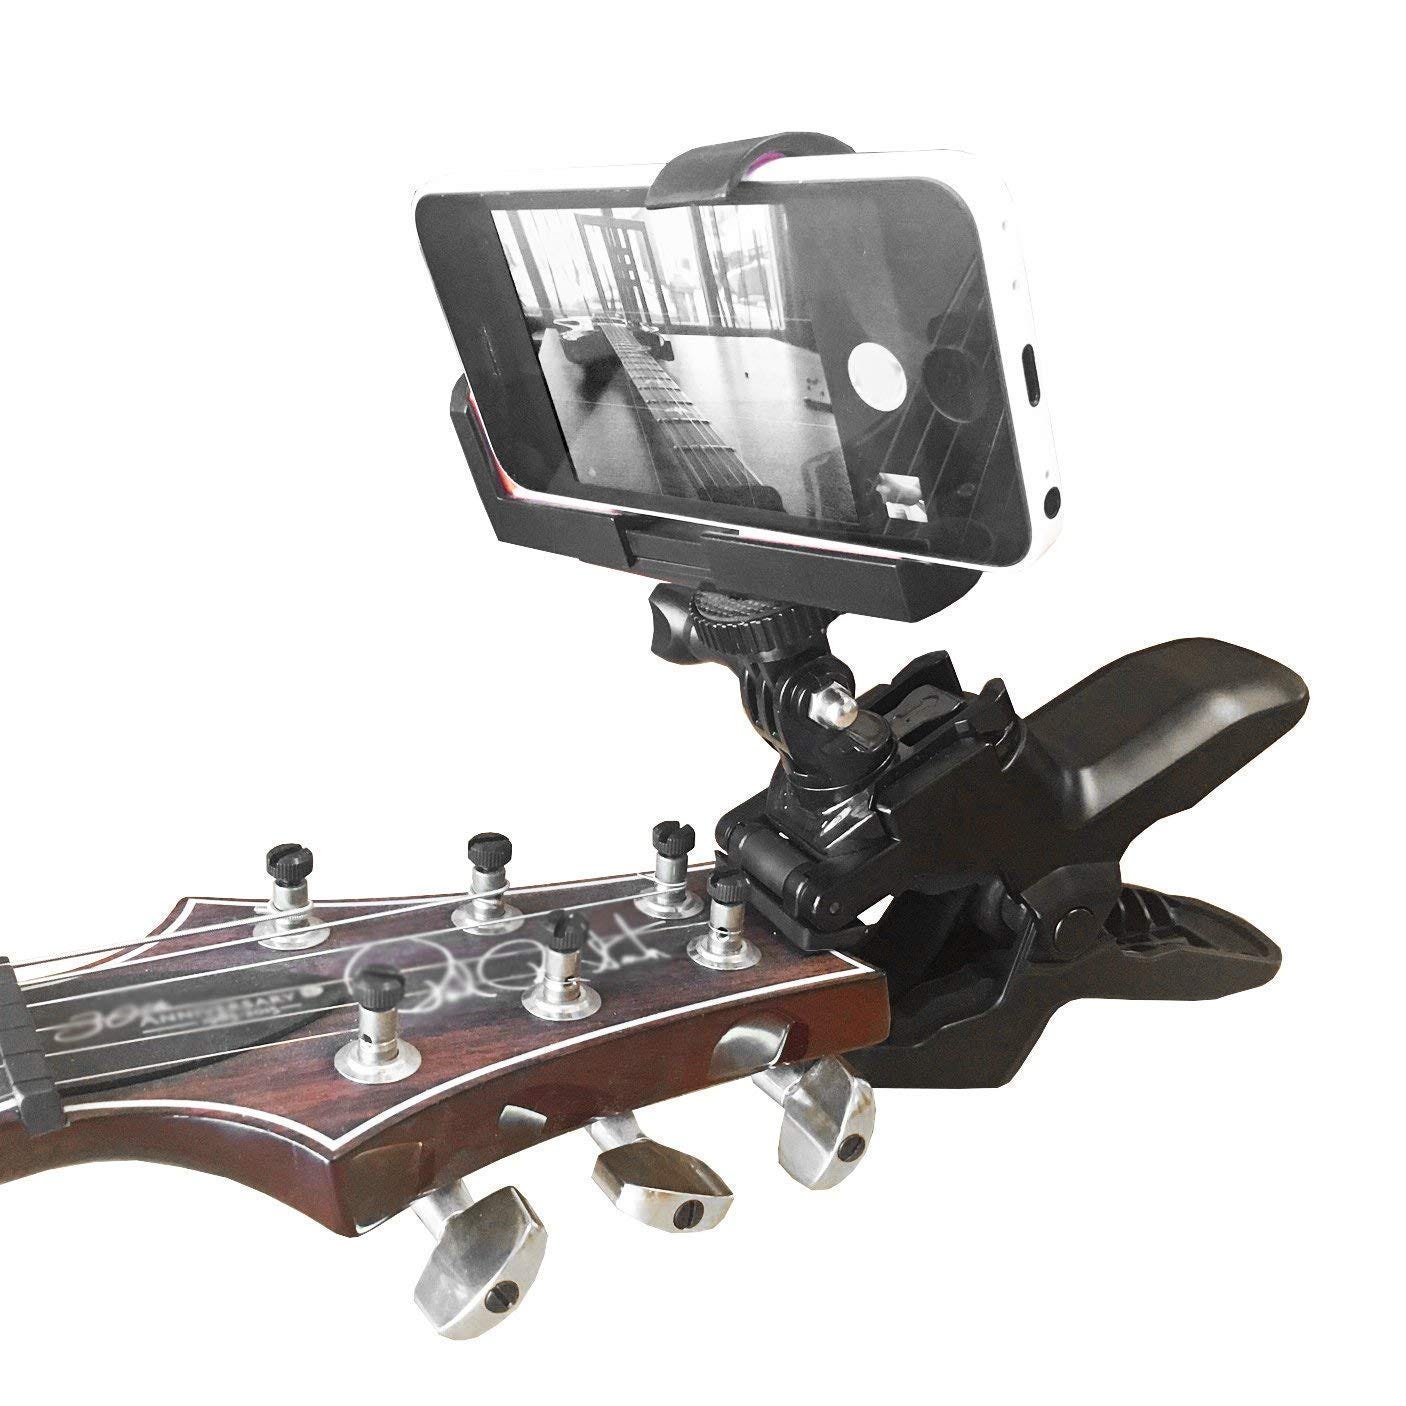
However, you can also use smartphones or digital cameras with the right mounting accessories.
Mounting Solutions and Product Recommendations
Clamp-Style Mounts:
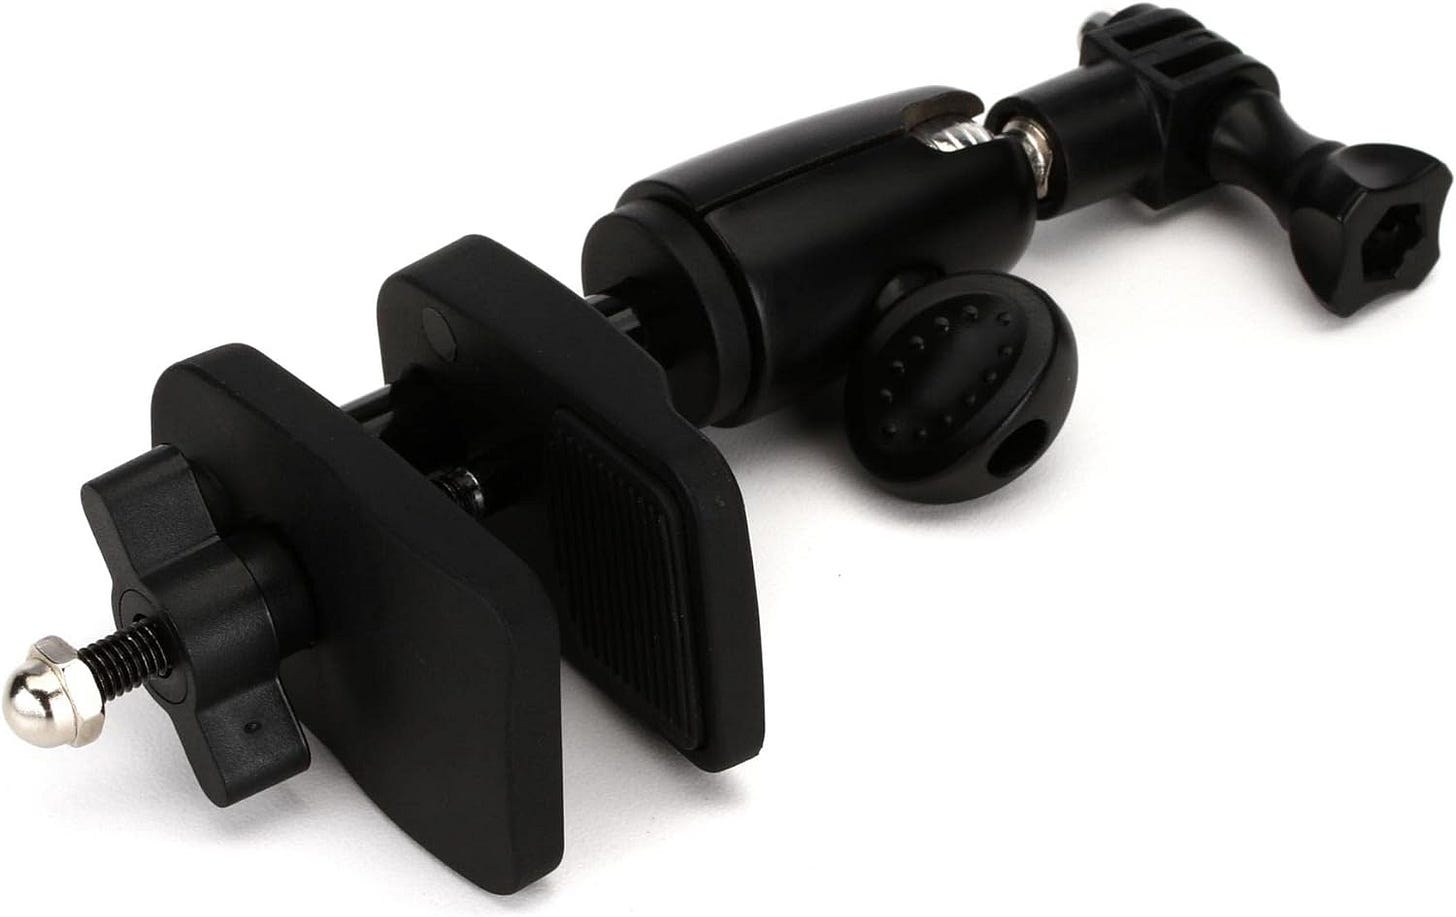
Zoom GHM-1
Suitable for Zoom Q4 and Q8 mobile video recorders, this mount allows for freely swiveling and rotating, providing flexibility in capturing different angles. It features a screw clamp with guitar-friendly rubber pads.
Universal Clamp Mounts:
Universal Guitar Headstock Phone/Camera Clamp Clip Mount
This versatile mount is compatible with all smartphones and GoPro action cameras.
It features a strong clamp with rubber padding to protect your guitar and offers 360-degree rotation for adjusting to various angles.
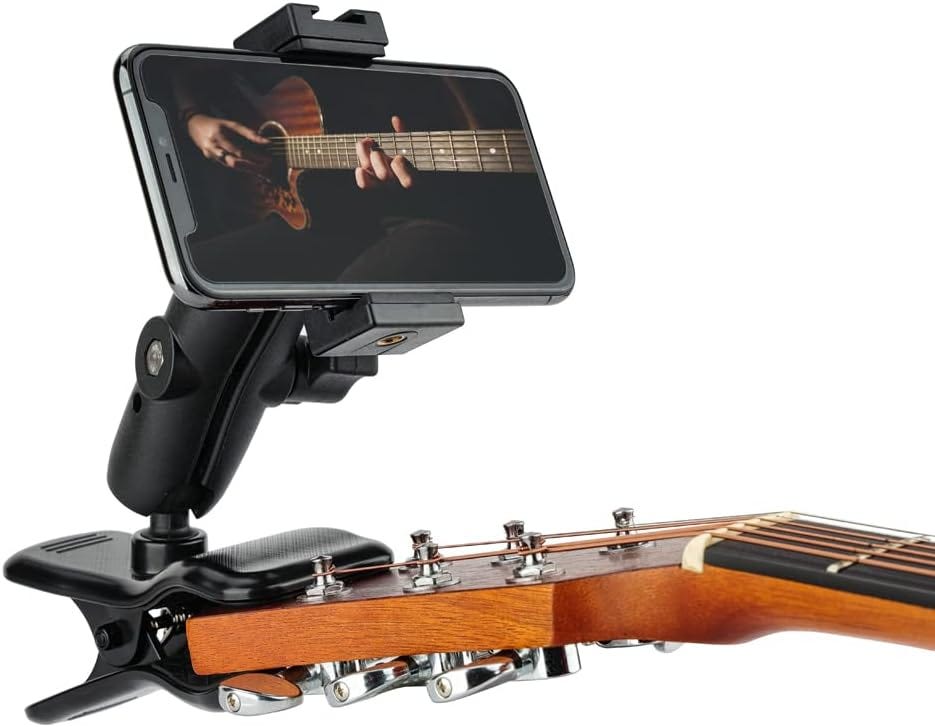
POWRIG Guitar Phone Holder Camera Mount
Easy to attach to your guitar headstock, this mount is flexible to adjust to any shooting angle.
It includes a universal smartphone clip, a GoPro adapter, and a cold shoe mount for attaching a microphone.
Improvised Mounts
If you're on a tight budget, get creative with household items like rubber bands, velcro strips, or gaffer tape.
These can be used to securely attach the camera to the headstock without damaging the guitar's finish.
Adhesive Mounts
Many action cameras come with adhesive mounts, which can be a viable option for mounting on a headstock.
However, it's important to test them first on a safe area to ensure they don't leave residue or damage the guitar's finish.
Off-Center Mounting
If the treble side of the headstock is too narrow, consider mounting the camera off-center on the bass side.
This can provide a unique perspective while still capturing the desired down-the-neck shot.
DIY Guitar Camera Clamp
For those who prefer a DIY approach, this YouTube tutorial shows how to create a camera mount using hardware store parts.
It allows for customization to fit different guitars and provides a cost-effective solution.
Positioning and Angle
Once you've secured the camera mount, it's key to position the camera correctly.
Aim to place it as close to the strings as possible without obstructing the guitarist's hand movements.
This will provide the best viewing angle down the neck, capturing the intricate fingerwork and string vibrations.
Tips for Recording
Practice Your Song: Ensure you can play the song flawlessly to minimize the number of takes needed. This will save time and reduce frustration during the recording process.
Record in Sections: Break the song down into smaller sections and record each part separately. This makes the recording process more manageable and allows for better focus on each section.
Use Multiple Angles: Experiment with different camera angles to add variety to your video. Consider using a combination of wide shots, close-ups, and creative angles to keep the viewer engaged.
Sync Audio and Video: Ensure your audio and video are perfectly synced. Use clap syncing or software features to align your footage accurately.
Editing Your Video
After recording, import your footage into a video editing program.
Use the best takes from each section and combine them into a seamless final video.
Experiment with different cuts and transitions to create a polished and professional-looking video.
And That’s It
Whether you're a musician, videographer, or content creator, this comprehensive guide will help you achieve professional-quality results.
I hope that helps,
-Hakan.


